Showing posts with label Friends. Show all posts

Friday, March 8, 2013

A Field Trip

I hope you are ready to be inundated with pictures.  Today was a field trip day and we actually had blue sky so I got a little camera happy!  Can you blame me?  Check out those blue skies! We took a little trip and learned a little history about our city. This is the school house that was built in 1885
I LOVE the bell tower.

One interesting tid bit . . . the townspeople would have to save and save in order to hire a teacher for their school, so they might only have a teacher for a couple months at a time and then they would have to save up all over again before they could hire another teacher.

Before they built this school the children were either home schooled or they would have to take a boat into the closest larger city to attend school.

I'm pretty sure I want our homeschool classroom to one day look like this!
Check out these cute kiddos . . .


They had a bunch of school books out and this is one of the old note books.

The teacher would have to come early and fire up the stove to warm up the school room.

Another item I need for our school room.

This was the schools first teacher and her bell that she used before they had the bell tower.

Check out the detail on this door knob! Why don't they make things like they used to?

This is an old cabin . . . a very small cabin.  If I remember right the family that lived in this house had ten children.  Not while living in this cabin, but eventually.  Could you imagine 12 people living in this cabin?


This highchair is amazing!  I want one!

That is a feed sack dress. I love this dress other than that the print is upside down, but thats just the OCD in me coming out!

This was our lovely tour guide.  She was wonderful and very patient, especially with our group of active younger boys.
The kinderboys have been learning about communities and how different people contribute and help each other. You can see more of what they do over at http://theeverydayhomeschool.blogspot.com Our tour guide did a wonderful job incorporating that into our tour. This is picture of them logging.  They were attracted to this area because of all of the beautiful trees.
Another tid bit of info . . . They would travel by river to go into the main city, however when some nearby locks were built it severely lowered the level of the river.  That's when they made this new boat.   It's a flat bottom boat in order to travel the now lower level river.
Here's a model of that same boat.
 And this is a picture of the early town.  Originally all of the buildings were made of wood but unfortunately they had two separate fires.  The first destroyed the left hand side and then the second destroyed the right hand side.  When they rebuilt, the founder of the town and owner of I believe the mercantile built his out of brick.  Smart man!
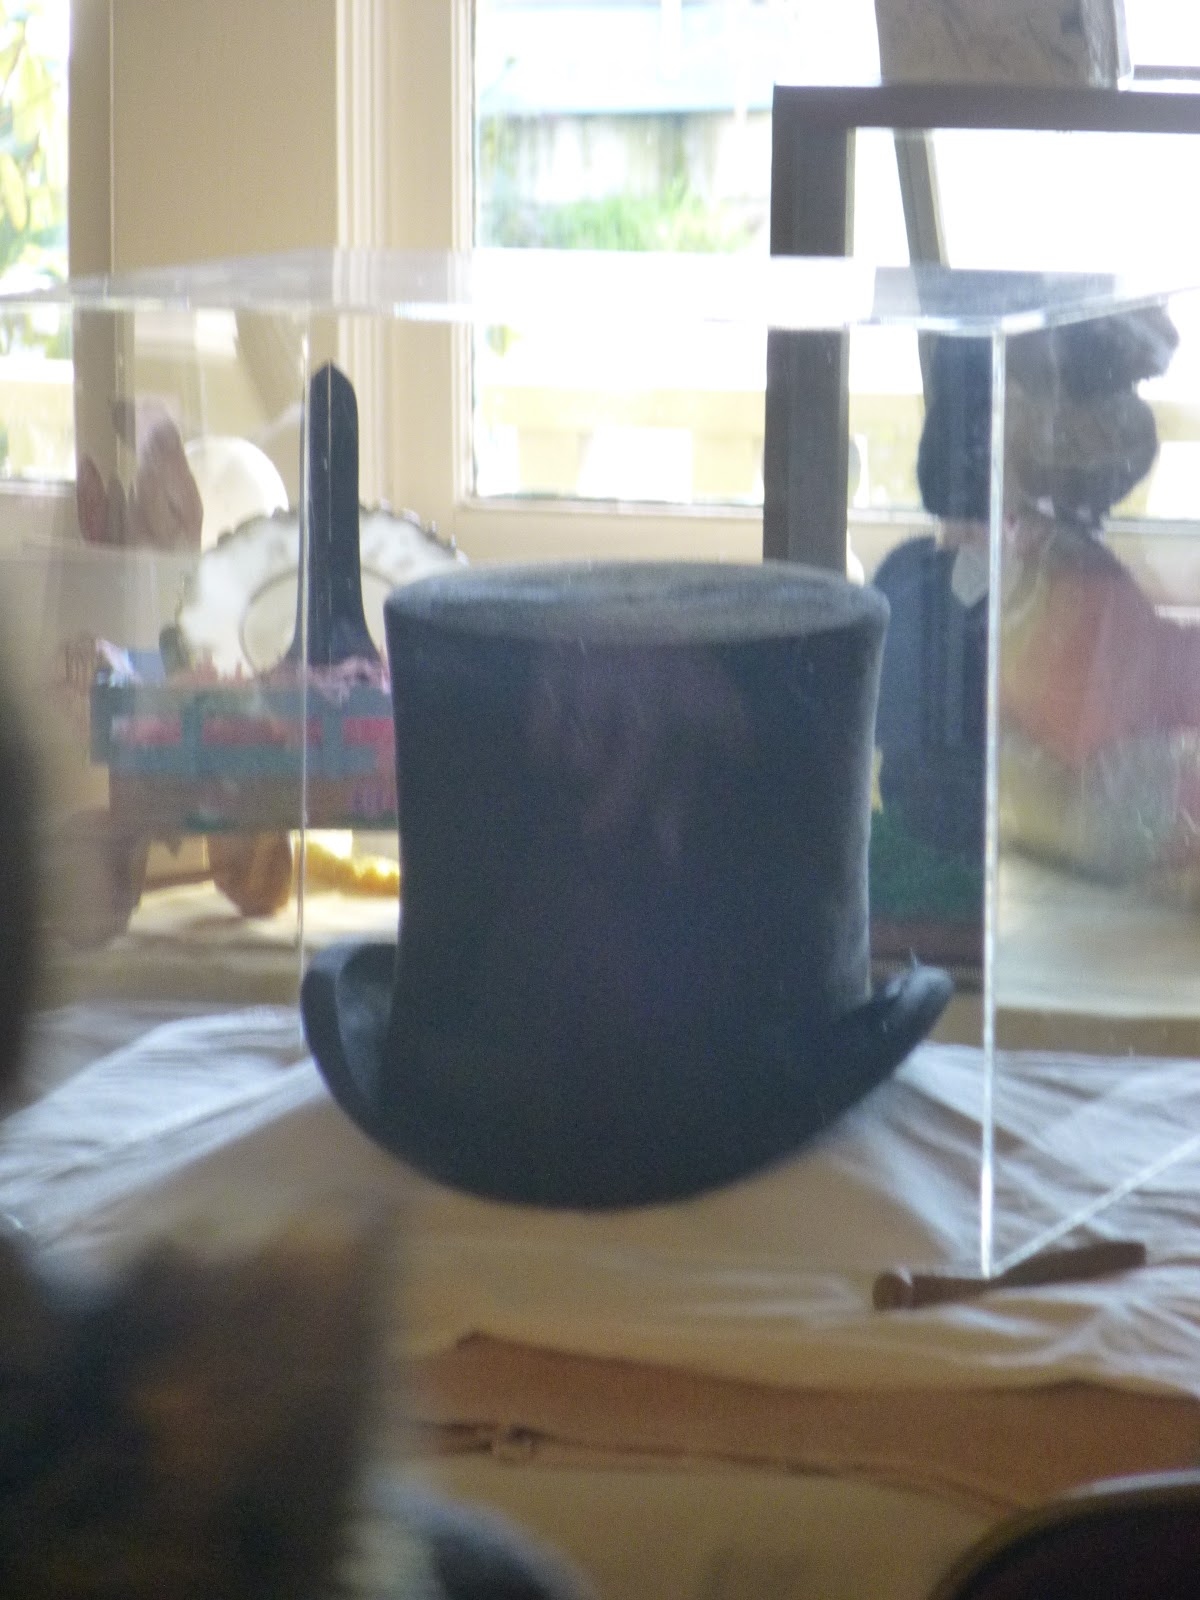
 This is one of the founders top hats.  It looks like a felt hat but it's actually made out of beaver fur!  CRAZY!
 Our guide showed us this beautiful quilt and talked of how women would donate scraps and would all come together and hand stitch these beautiful quilts.
 The same goes for this dress.  You can't see very well but there is this lovely crocheted lace trim on the dress and it was made by several women coming together and each doing a section.
 Our guide made sure to point out that women weren't the only ones that did needle work.  She showed us this little sampler that a little boy had stitched long ago.
 This is the kitchen in the founders home.  I LOVE all the old kitchen tools.  Again, I want!
 So quaint!
  Following our field trip we took a little time to enjoy the gorgeous weather.  Not too much though!  I had to get to Zumba.  Priorities, right?!  At least thats what I keep telling myself! :)


Sunday, February 24, 2013

Cooking Class Part 3

This lesson was ALL about eggs!  Cracking, separating, whipping, scrambling, boiling . . . you name it, we talked about it!  First off we made omelette's in a bag.  They cracked the eggs themselves, scrambled them and then put them in a bag.  They added various toppings of their choosing and then sealed it up.
Into the boiling water they went.  I promise the water is boiling.  For some reason the camera didn't capture the boil.  Hmm... interesting!
 Here it is all cooked and ready to come out of the bag.
And here is the omelette ready to be eaten.
 On a side note, when serving eggs to kids make sure you have plenty of ketchup.  I might have forgotten we were pretty much all out of ketchup upon serving the eggs and the girls probably got an 1/8 of a teaspoon of ketchup each.  No joke . . . an eighth of a teaspoon!  And even that might be more than what they actually received!  Sad day on the ketchup front!
We also learned what happens to egg whites when air is added by beating them really fast.  Thanks to a fellow homeschool friend who gave the suggestion to do this part of the egg unit.  It turned out so well! You can find her awesome homeschool blog here http://theeverydayhomeschool.blogspot.com
We made these little meringue cookies.  The recipe for these and the omelets will follow.
 We also learned about melting chocolate and decided to dip our cookies in said melted chocolate.  Yum!  Here are pics of each of the girls giving cookie dipping a go.


 And here is Piglet, again, tasting our tasty treats.  I don't think she actually ate the cookies.  I'm pretty sure she just used her fingers to dip and lick off all of the chocolate.  What can I say?!  A girl after my own heart!
 These are pretty much marshmallow cookies dipped in chocolate.  How can this go wrong . . .
 It can't!
 Check out these cute chocolate faces!  Its a good thing our lesson on manners and etiquette is the next lesson cause I'm pretty sure after these cookies it would have been an epic fail.  But so worth it!  And fun!
Omelette in a Bag
2 eggs 

2 slices ham, chopped (optional)
1/2 cup shredded Cheddar cheese 

1 tablespoon chopped onion (optional) 
1 tablespoon chopped green bell pepper (optional) 
2 tablespoons chopped fresh tomato (optional) 
1 tablespoon chunky salsa (optional) 
2 fresh mushrooms, sliced (optional) 
Directions
  1. Crack the eggs into a large resealable freezer bag. Press out most of the air, and seal. Shake or squeeze to beat the eggs. Open the bag, and add the ham, cheese, onion, green pepper, tomato, salsa, and mushrooms. Squeeze out as much of the air as you can, and seal the bag.
  2. Bring a large pot of water to a boil. Place up to 8 bags at a time into the boiling water. Cook for exactly 13 minutes. Open the bag, and let the omelet roll out onto a plate. The omelet should roll out easily.
Snow Cookies
2 egg whites
1/2 teaspoon vanilla
1/4 teaspoon cream of tartar
1/2 cup sugar
1 cup chocolate chips
1 teaspoon vegetable oil
1/2 cup peppermint candies
Directions
Separate egg whites and let stand at room temperature about 30 minutes. Preheat oven to 300 degrees. Line a baking sheet with silpat or parchment paper and set aside.
Using an electric mixer, beat vanilla, cream of tartar and egg whites till soft peaks form (tips curl).
Slowly add sugar, 1 Tablespoon at a time, beating on high speed till stiff peaks form (tips stand straight) and sugar is almost dissolved.
Spoon meringue mixture into a piping bag fitted with a large star shaped tip. Pipe 1-2-inch stars onto baking sheet.
Bake in preheated oven for about 15 minutes or until cookies just start to turn brown. Turn oven off and let cookies dry in oven with door closed for about 10 minutes. Remove cookies and cool on wire racks.
Melt chocolate and vegetable oil and place in small bowl. Crush peppermint candies in either a food processor or mini chopper and place in another small bowl.
Dip tips of snow cookies in melted chocolate. Sprinkle crushed peppermint dust on top of chocolate. Enjoy with family and friends on a fun snow day! Happy Cooking :)

Friday, February 22, 2013

Cooking Class Part 2

Here is our first cooking class.  All of the girls aprons are hung up and there recipe books laid out on the table.  For the recipe books I just bought those cheap plastic photo books and put there names on the cover and titled them Chef in Training.  Super simple!  Every class I add the recipes we are going to make for the day and then when we are done with all the classes they'll get to take them home.
What a cute bunch of girls!
 Our first class we learned all about safety and sanitation when it comes to cooking and baking.  Here they are washing their hands . . .  very thoroughly!
We also learned about proper measuring techniques.  Here is one of the girls friends spooning flour into the measuring cup.
And finally tasting the food we made!  We made pudding in a cup topped with vanilla bean whipped cream and raspberries!  YUM!!!  It was soooo good!  Recipe to follow!
 Our little piglet gets to join in on our classes so she of course gets to taste EVERYTHING!
 Here is one of the desserts and the girls made them all by themselves.  How fun and what they called "fancy!"

Pudding in a Cup 
(adapted from kids-cooking-activities.com)
1 1/2 Cups flour
1/2 Cup of butter, melted
6 Tablespoons powdered sugar
1/2 teaspoon vanilla
6 teaspoons cold water
1 larger box instant chocolate pudding
The chef-in-training can do all these steps then have an adult bake in the oven. Preheat oven to 375 degrees. In a bowl add flour and powdered sugar. Mix together. Add butter and stir until mixture is crumbly. Slowly stir in cold water and vanilla. Mix thoroughly. Grease muffin tins and spread dough in each of the muffin cups. Press dough up along sides of each cup. Bake until golden brown, about 10-15 minutes. Allow to cool.  While cooling prepare instant pudding.  When dessert cups are cool, fill  with pudding and top with whipped cream and berries.
We used custard cups, but muffin cups are usually more available.
Sweetened Whipped Cream 
(adapted from our best bites)
1 c. whipping cream
1/3 c. powdered sugar
Optional: 1 teaspoon vanilla extract
and the scrapings of the inside of a vanilla bean.
Instructions:
Combine whipping cream and powdered sugar in a large bowl.  With an electric hand mixer begin beating whipping cream and sugar. As it starts to thicken add extract and vanilla bean seeds if desired. Continue beating whipping cream until soft peaks form.
Serve immediately with pie, cake, ice cream sundaes, etc.


Blogging tips